Saturday, April 3, 2010

Money Management

It is that time in all of our lives, I know, that we tighten our financial belts. Well, if not in your household, it is for sure in mine. After another struggle to make ends meet this winter and the trials of financial burden continuing this spring, my husband and I decided to step out in our faith and be vigilant in tightening our financial expenses and to learn how to use a budget. It isn't like we've never learned how to budget, it is just a task difficult to accomplish when only one of our incomes stays the same on a monthly basis. My husband owns his own business and with the construction world in our state taking a hit, we decided there really is no better time to be better with our finances.

So, our first step today really involved sitting down and taking an honest look at our finances. We wrote down all the bills that I take care of out of our personal account and then we did the same for our business. This gave us a good idea of a couple things. First, we now have a better understanding of what we have to bring in to cover our everyday expenses. Secondly, it helped us see what areas we could maybe cut back.

Since I've been using Quickbooks for a few years for personal and business balancing, I looked back and averaged some of our expenses like food, eating out, entertainment, fuel, etc. for 2008, 2009 and then for the last three months. I used these monthly averages to figure out how much would be reasonable for us in the expenses categories. Now comes the hard part for us...living within our budgeted means.

I started to research on the web how to really attack my finances. Thanks to Money Saving Mom's website and the 31 Days to a Better Budget she ran in March, I got a ton of ideas and some great links.

If you are interested in checking out some of the links that I find useful here they are:
Crown Money Map ~ This link is really great for a step by step process through managing your finances and working towards financial freedom, including electronic forms to fill out. Plus percentages of your income to guide spending in specific categories. Love it!
Oprah Debt Management  ~ Oprah is known for great ideas. This site has great stuff to help eliminate debt. Great forms to fill out too!

I hope this might help you in your finances. I'll continue to post my success!

Wednesday, March 31, 2010

Paper Eggs

I came across a project that I thought I'd try with the kids. Thanks for the inspiration, This Is The Year blog! I love the end result. I will say, that my daughter had more fun cutting the strips of paper for me than gluing them on. This blog site has all the details if you want to try them! Another twist on this idea comes from Creative Attempts. Check out that blog to see how she did the same project, but with tissue paper. Super cute!


Paper Cutter Extraordinaire

Seasonal Decor Blocks

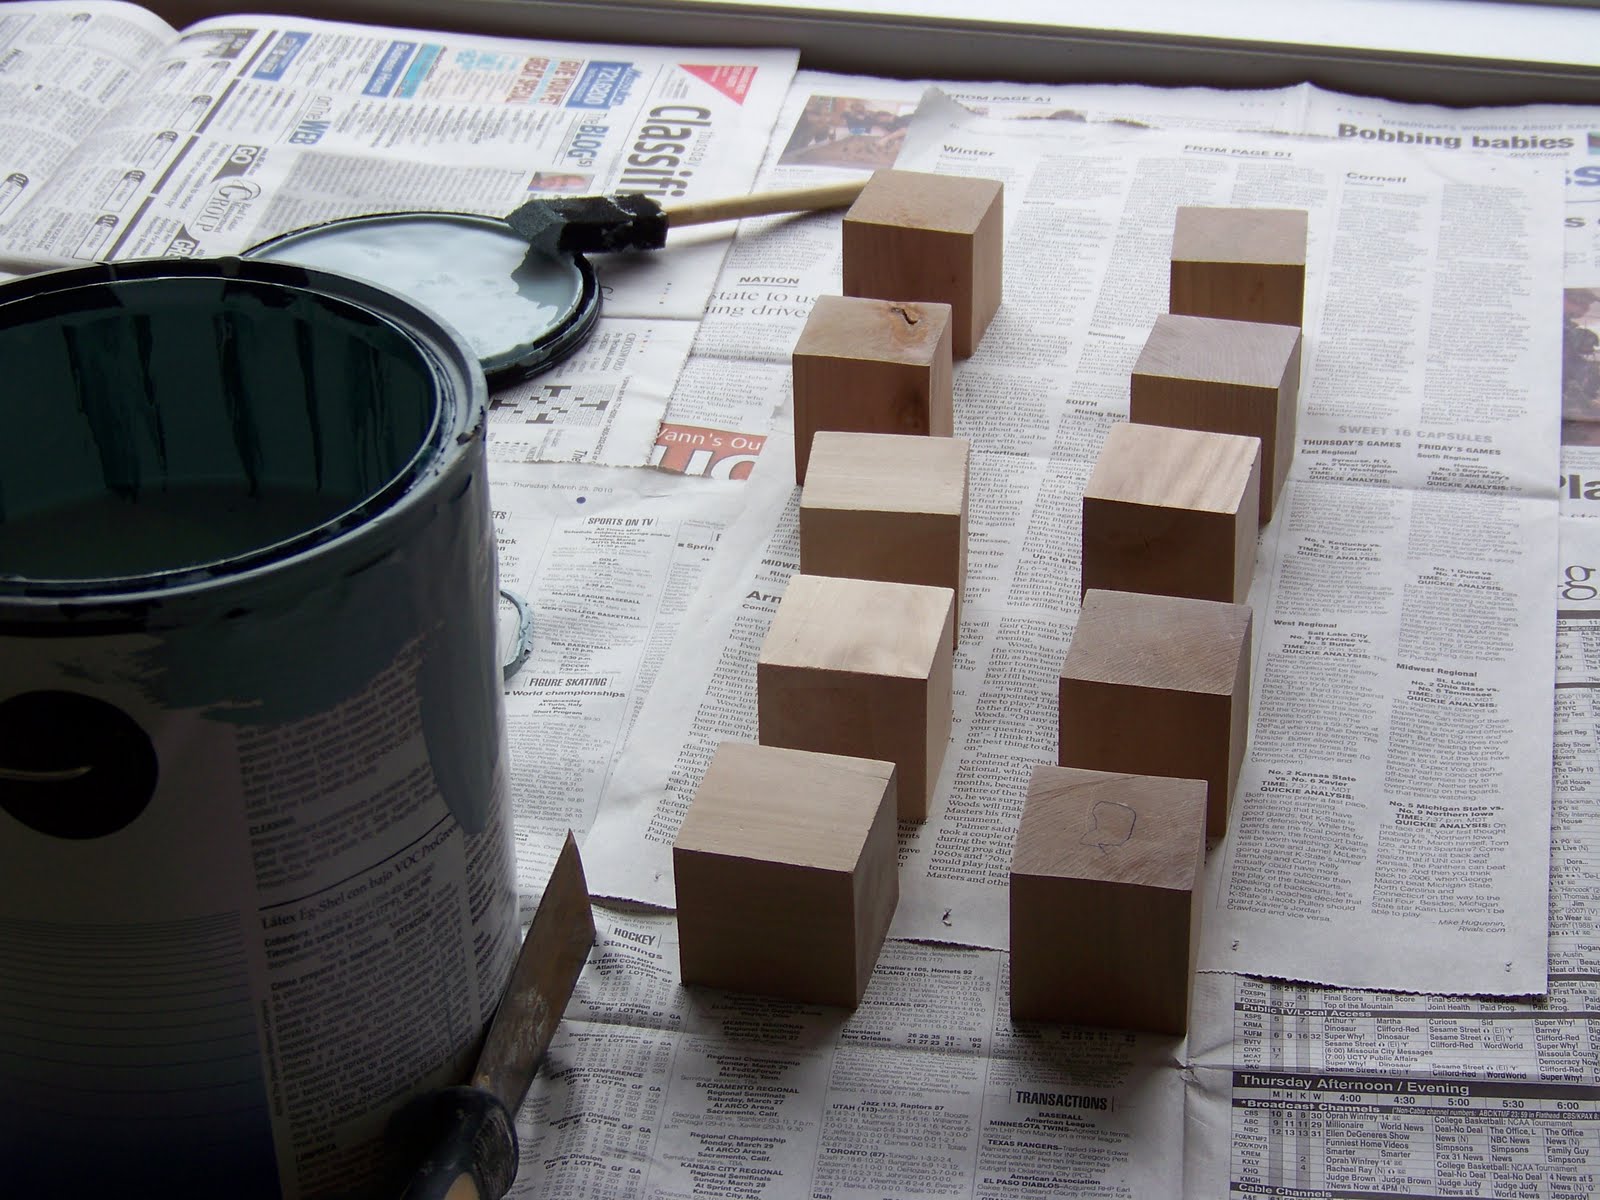
I continually eye these decorative blocks when out shopping. I have no need for restraint now. I made my own. Thanks to Whimsi Kel and the great lists of letters and words, this project really was quite simple.

 I decided to use house paint as my block colors so that they would match my house during all seasons. I started with a base color of Sherwin Williams: Aqua Sphere. I painted five sides and when they were dry I painted the sixth sides. I then watered down some Weathered Shingle (tan color) from Sherwin Williams and brushed it on and wiped it off after a few seconds to get the antiqued look. Once this coat was dry, I cut letters out with my Cricut and used Modge Podge matte finish to secure them to the blocks. I had two extra blocks that I had painted and decided I'd cut out shapes to stick on them. Overall, I am thrilled with the turn out! I can't wait to use them all year round! Thanks Whimsi Kel for this great idea!

Sunday, March 28, 2010

Rocket Launcher

I continually find that I am surrounded by so many people that bless my life. My dad is one of those people. He drove down to surprise us all and hang out for a bit. Of course hanging out turned into project time. I always have something that I want to work on. This particular project seemed a bit more overwhelming, so I was happy to have my dad jump right in on making the rocket launcher. My inspiration came from my summer 2009 trip to Houston, TX. More specifically, Johnson Space Center (NASA). After a week long educators only workshop on how to include Math and Science activities, NASA style, into my teaching I came home with more ideas than I could implement. As this school year seems to be zooming past and my aviation/NASA unit coming up, I figured what better time than the present to get this project underway. So here are the details.

The Parts:


The Parts Expert:

The Supervisor:

The Finished Rocket Launcher:

$32.67 for Home Depot Rocket Launcher Parts
20 minutes of quality time with my dad and my son putting the parts together
2 trials with no major injuries (launching over 30 feet in the air!)
hours of future entertainment: PRICELESS!

Tuesday, March 16, 2010

Quick Quilted Pillows

I decided to try my hand at recovering a few pillows. The original pillows had a zipper so I just stitched the quilted pillow so that the zipper could continue to be used. It worked and so I went with it! I love fleur de lis prints and had bought so much of it. I am just so happy that I found another great use for it!

Saturday, January 30, 2010

Recipe Box

I have tried many times to organize my recipes. I have bought the books that the cards can fit in, but ran out of room to add plastic protectors. I have the three-ring binder with clippings and printed favorites. I often run from one to the next and then to all the cookbooks I have for the one I'm looking for and can't remember which book or binder it is in. I decided that I want to put all my recipes in one place, so I made this box. It will take me some time to get the recipes that aren't on cards yet ready for the box, but I know in the end I'll be happy to have one place to go looking for those recipes. I used the idea from Sister's Stuff to get me started. Great inspiration!
I added the conversion chart to a card in the back of the box so I could have a quick reference. Just another way to keep organized in 2010.

Sunday, January 24, 2010

Wild Wild West Party

My son wanted a western themed birthday party so of course I did my best to pull that theme together. In the picture, is my kids with grandma Dee testing out the saddle.

I visited a few websites first. Family Fun and Radmacher blog had some cute ideas.
 
HP had a ton of free printable ideas with the western theme in mind:
Western printable kit  (includes customizable boot invites, signs, games, and more)
Western scrapabook kit (borders, backgrounds, journal blocks, and tags)

Wild West Party set 1 (mustache stickers, wanted posters, stage coach invites, and more)
Wild West Party set 2 (iron on, badges, invites, and more)

HP has other themed party, decorations, tags, etc. Here is the link I found to be filled with amazing printables!
HP Creative Studio   Enjoy!

Now back to the party I put together.I found sheriff badges, gold coins, and mini decks of cards to put in the gift bags. Thanks to my mom for putting all these together and having the idea for the napkin rings. Most of my decor items came from her too. Thanks mom!

The napkins were bandannas with small western hats glued to hair ties for napkin rings.

Centerpieces were straw cowboy hats, red bandannas, candles with ripped bandannas tied around them, along with horseshoes. Here's my birthday cowboy next to one of them.

Under my welcome sign, I hung the buckaroos sign, which I made with my cricut. In doorways, we hung strings with boots, badges, cactus', etc. These we found at the local Party America store.


Outside, we set up a cowboy fire pit, saddle, and roping station. To our luck it snowed during the party so we came in and out a lot, but I did have extra gloves handy and hats too. The steer head on the hay bale was a fun game while kids sat on the saddle.


You can see in the background some rope with strips of bandannas strung across the front of the house. This was an easy way to make garland. I had extra strips so I hung a few on the wreath that was still on my front door and added a few horse shoes too.


Here's the homemade stand with the saddle. Thanks to my father-in-law for doing so much of the outdoor work. He brought the hay bales too.I couldn't have thrown the party together without all the help.

The menu:
Cowboy cocoa, root beer, hot dogs, buns, chili, cheese, calico beans, ribs, chips, and veggies.
For dessert, we made smores over the fire pit outside instead of cake! It was a huge hit because the kids could make them.

It was a successful 6th birthday party and a ton of fun for me to put together. Good thing my daughter's next party isn't until September.  This will give me some planning time.